Tuesday, March 15, 2011

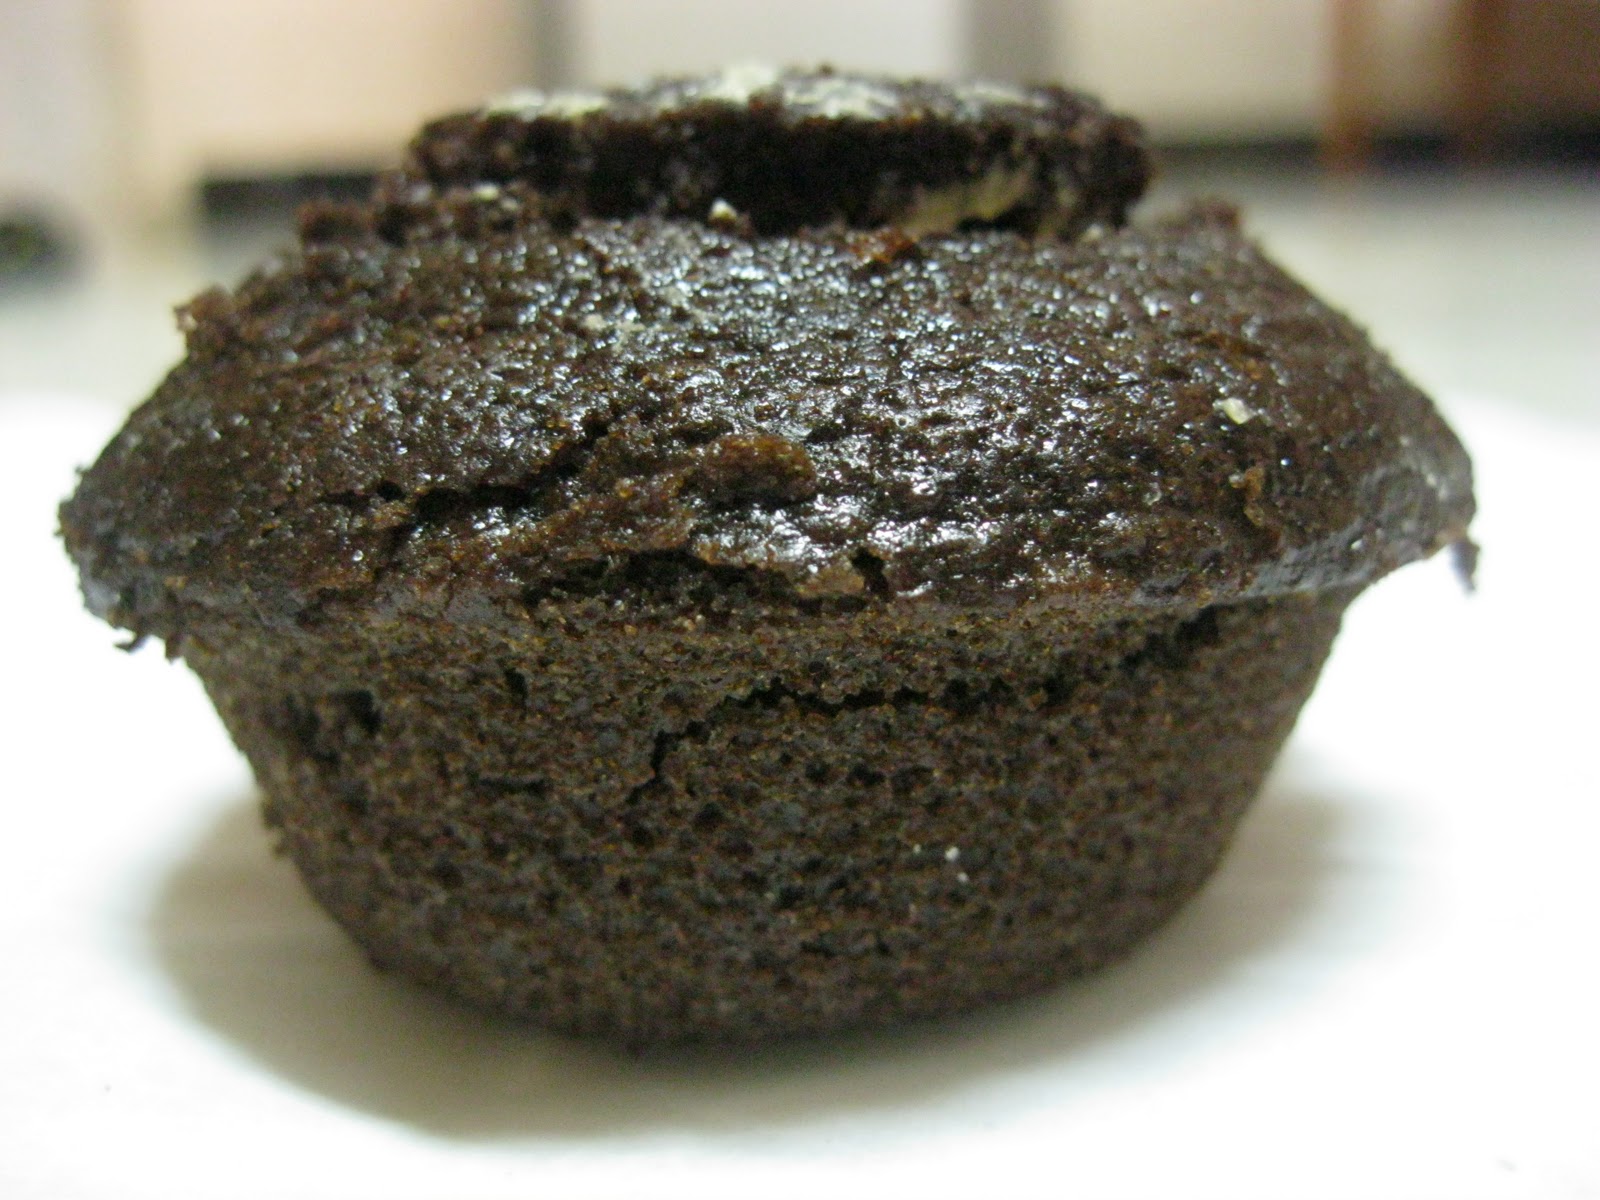
Chocolate cupcakes with peanut butter filling and chocolate buttercream frosting/Can you handle this?

Wake up in the morning feeling like P.Diddy. Grab my glasses, I'm out the door, I'm gonna hit the... kitchen. Yes, yet another late night/early morning baking project. And I'm guessing it's OK to listen to vintage Ke$ha at that hour.

The food I cook/eat comes under two categories: Healthy and Unhealthy. One day, I'm steaming broccoli and scrambling egg whites. The next day, I'm layering chunks of brownie with nuts/caramel/chocolate sauce and ice-cream.

I don't get the point behind "healthy" dessert. Sure, I'll chop fruit into my yogurt and I'll enjoy it. A Gwyneth Paltrow-ish dessert. On most days, however, you want a bodacious dessert. A diva-style dessert. When it enters the room, it should put you in a trance.

Enter the Beyonce of cupcakes. A dark chocolate cupcake with a peanut butter-filling and a bittersweet chocolate buttercream frosting. The kind of cupcake you can't even approach. The kind you can't finish a whole one of (if you can, power to you!) And the kind you bake only for the ones you <3 (prep work can be a bitch).

My favourite cousins in the whole world (one of the very few I can stand and vice versa) keep complaining about how I don't make any "special" desserts for them. If you know me moderately well, you've heard that dialogue from them at least once. Or a hundred times. Depends on how moderately well you know me/us. N emphatically says that I can't sneak in healthy "nonsense" into the things I cook for her. And S is a diva herself, and this cupcake is very befitting.

Or just make it if you love Reese's Pieces and you can't track them down in Madras. Odyssey always seems to have them, and yes, they are expensive. Peanut butter and Chocolate is second only to Coffee and Chocolate. Same level, actually. Even better, at times. Argh. We'll call it a tie.

Chocolate Cupcakes with a creamy Peanut-butter filling and Chocolate Buttercream frosting:

Ingredients:

27-30 chocolate cupcakes=>made with one batch of this recipe.

For the peanut butter filling:

1/2 cup butter, softened.
3/4 cup peanut butter.
1.5 to 2 cups powdered sugar, sifted.
1 tsp vanilla essence.
1-2 tbsps milk.
A pinch of salt.

For the frosting:

250 g bittersweet cooking chocolate, finely chopped.
3 tbsp cocoa powder.
3 tbsp boiling water.
3/4 cup unsalted butter, softened.
1/2 cup icing sugar.
A pinch of salt.

Method:

Make a batch of cupcakes from any chocolate cake recipe. I use my fail-proof Hershey's recipe and get at least 27 big cupcakes out of each batch.


Let them completely cool down to room temperature.

For the peanut butter filling:

You can use smooth peanut butter, but we won't be friends anymore.

Beat together the butter and peanut butter until smooth and fluffy.

Add 1 cup of the powdered sugar and beat it in. Add the vanilla and a tbsp of milk. Beat until smooth.


Try the filling, and add more sugar and milk, until you get a creamy consistency and sweetness of your choice. I used 1.5 cups of sugar and SuperChunky Peanut butter and found it just right.

For the frosting:
When this starts boiling, put the heatproof bowl with chopped chocolate on top!

Place the chocolate over a bain-marie or double boiler, and melt until smooth. Let it cool for 20 minutes, until the bowl is cool to touch.

Make sure NOT ONE DROP of water gets it; if it does, you can't use the chocolate for tempering/frosting, because it'll get lumpy. You can eat it neat or make hot chocolate with it.

Whisk the cocoa and boiling water in a separate bowl until smooth, in a separate bowl.


In a bowl, beat together the softened butter, sugar and salt until smooth and fluffy, about 3 minutes. On low speed, beat in the melted chocolate until combined. Finally, beat in the cocoa mix.

How to assemble the cupcakes.

You could use your icing cone to stuff in the filling, but since I used crunchy peanut butter, I had to use another method.

Carve out a hole in the centre of the cupcake.


Add a tablespoon of the peanut butter filling.


Place the top portion of the cake back on.

Ideal way to serve.


Smother with frosting or decorate with swirls.

A passable way to do frosting.

Since I had to transport them and they'd get messy anyway, I just spread the frosting on (and plus I was exhausted by then). Refrigerate (if you live in Madras), take them out 10 minutes before serving.

Recipe Source:
Martha Stewart's Chocolate Buttercream frosting.
Peanut butter cream: adapted from How Sweet It is.


I put them all in a huge cookie jar, layered between sheets of butter/wax paper. This should shut their mouths for a while. And, one of them claimed that she died and went to heaven. The other said that she loved the cupcakes, but loves me more. Makes it well, well worth it.

Saturday, March 12, 2011

Chicken Gyros/OPA!!!

This is the spark that set off the food blog. On one of those days, when I wanted a really fancy dinner, with specially fitted studio lights switched on and company china set out on the table. And forks and knives. The kind of meal that starts with a piece of Feta and ends with dainty helpings of mint chai.

So I cooked all evening. Chicken Gyros, the souvlaki-type Grecian kebabs. Whole wheat Pita bread. Tzatziki. Hummus. And yes, mint chai. Feeling extremely pleased with myself and not having had enough gratitude/raves from the family, I put up pictures on Facebook. It's embarrassingly narcissistic, but that is what I did. So many kind, kind people said so many kind, kind things, and a month or so later, I had enough material for a food blog. It's been almost three months since this has been up and running, and what better way to celebrate it than to return to the root of it all?

This is how Tzatziki should really look like. The one on the older post wasn't
thick enough.

Chicken Gyros is one of the most fuss-free kebabs I've ever made. It's incredibly light, minimal and full of the flavour profiles I so adore. It doesn't go rubbery on you, it's hard to under-cook it, you can make it in a skillet over the stove top, but if you have an impressive piece of grilling equipment, you're in for a real treat.

Chicken Gyros:

Ingredients:

Method:

500 g boneless chicken, cubed.
6 cloves of garlic, smashed.
Juice and zest of 1 lemon.
2 tsp white vinegar.
2 tbsp Extra virgin olive oil.
2 tbsp unflavoured yogurt
2 tbsp dried oregano
Salt and pepper, to taste.

Accompaniments:

Tzatziki
sliced tomatoes
sliced onions
Pita bread.

Method:

Luscious, full-fat yogurt. Plump cloves of garlic crushed. Extra-virgin olive oil
from Italy. This is truly the start of a beautiful meal.

In a bowl, combine the yogurt, garlic, olive oil, herbs, salt, pepper, vinegar, lemon juice+zest and dried oregano.


Whisk until everything is well-combined.

Rub the marinade into the chicken pieces. Cover with cling film/lid and refrigerate for an hour.

Preheat the oven to 220 degrees Celsius. The oven setting should be on Broil/Grill. If you don't have those options go with Bake. If you don't have an oven, use a non-stick skillet, and pan-fry the pieces.

It gets done quite fast. Make sure the chicken pieces are of the same size so they cook evenly. Try a piece to see if it's cooked. Don't discard the juice.

Let it rest in the juice for 5 minutes. Sprinkle some more oregano, salt/pepper if needed.


Heat the pita bread for a minute or two in the oven. Serve with tzatziki, tomatoes, onions and extra lemon juice.

Source: Elly Says Opa


Get everyone to make pita pockets or pita wraps (a little risky though if you've made limited portions, and your family does not believe in portion control). Get somebody else to brew the mint tea. Get somebody else to pick up dessert. You won't have trouble with any of the above (except the portion control), after the meal.

Thursday, March 10, 2011

Faux Strawberry "Cheesecake"/Happy-ness in a bowl.

Sometimes, I feel almost embarrassed putting up a simple recipe. The type of dish that is ridiculously easy to whip up, but still gets disproportionately raved over. My Faux Strawberry "Cheesecake" belongs to that category. Takes a few minutes and zero skills to make, and but still makes a born foodie like N finish three quarters of it with gusto. And the remaining quarter I usually fight for and salvage; so good with a Meg Ryan movie and gossip on the side.

The kind of recipe where you can't go wrong; you just shake off adulation with false humility when the damned fact is that my seven-year-old sister is equally adept at this dish. I got it off the back of a Nestle Milkmaid can a decade back. And I had to try it, because I was a sucker for all things Nestle. Ice-blended Nesquick, the Tollhouse chocolate chip cookies and 2nd stage Apple and Cherry Cerelac. Yum.

Incidentally, my medical license can get revoked if I promote Nestle Cerelac, because infants are to be strictly, exclusively breastfed for the first 6 months. I totally meant for adults, the Cerelac bit.

Back to the "Cheesecake". It won't be cream-cheesy, dense or sinful like a regular New York style cheesecake. Don't get depressed just yet. This one is flavourful, light and addictively delicious.
And has less than 5 ingredients in toto. You'll notice that I've mentioned that Milkmaid is optional. I strongly suggest you add it if you're into yummy-hence-calorie-laden desserts.

I left the Milkmaid out this time.
Faux Strawberry "Cheesecake":

For the base:

85g pack of McVities Digestive biscuits.
1 tbsp unsalted butter.

For the cheesecake:

85 g pack of Strawberry/Raspberry Jelly/Jell-o.
200 ml of whipping cream.
200 g/half-a-tin Condensed Milk (highly recommended, but optional)

Method:

For the base:

Put all the biscuits into a Ziploc bag or paper bag. Bash it until looks like grains of beach sand.

Alternatively, you can pulse it in a mixie or food processor, but ensure that it doesn't get too fine.
You can use instead of the Digestives, Marie biscuits, graham crackers, Oreos, whatever makes your taste buds sing.

In a freezer-safe, microwave-safe bowl, melt the butter. Massage the crumbs into the butter, pat it down with your knuckles to make a pie-crust style base. Put it away in the freezer compartment for an hour, minimum.

Take it out sooner, and the crumbs wouldn't have set and they'd mix with the pudding. You can use unsalted butter, if that's all you have on hand.

For the cheese cake:

Prepare the strawberry jelly according to the package instructions.

An easier way would be to boil 200 ml of water. Stir the Jelly granules into the boiling water, mix thoroughly. After a couple of minutes, take it off the stove top, and pour it into a freezer safe bowl. You'll know the jelly is cooked enough when the pink foam on top disappears.

Let the jelly cool down to room temperature. Transfer the jelly to the freezer until the edges have set properly and the inside is wobbly, but NOT fully set.

Notice the finger-indentations in the centre? Shake the bowl a little bit!
Meanwhile, pour the whipping cream into a freezer safe bowl. Keep it in the freezer for 15-20 minutes.
Take it out, and whip until soft peaks form.

The idea is to ensure the bowl and the cream are cold, so the cream won't split.

Beat the jelly either with a hand-blender or a mixie so it gets broken down but not so much that it gets foamy and liquid-y.


Stir the condensed milk in to the jelly, if using.


Fold in the whipped cream. Don't over beat.


Pour into the well-set biscuit base. Smooth down the top. Cover with cling film or a lid and store in the freezer for another hour.


Serve! If it's frozen solid, take it out and transfer to the refrigerator until it's wobbly and pudding-y.


Smoothen it out evenly so it won't be uneven like mine is. But it eventually doesn't matter.


The serve-with-garnish part is solely for the blog. How you really eat it? Scroll down for a pictorial demo. Confirm with N, the food connoisseur (connoisseuse?) if you don't believe me.

Tuesday, March 8, 2011

Chicken Waldorf Sandwiches/What Promises are made of.

I promised I'd make things with meat in them. I promised I'd make easy-peasy grad student recipes. And I'm the kind of girl who keeps her promises. Believe it.

Conveniently though, this recipe caught my eye during one of my long, long food-surfing sessions. You know, the sites I visit daily to slobber over sensual, glamorous food, the likes of which I can never conjure up. This one, though, was the type you could pull off even if all your recipe book has toast, coffee and Maggi in it. Prep time aside, it takes five minutes to assemble.
So it works out for all of us. You can thank me later.

And did I mention this has no fancy herb or cut of meat in it? You could go down the frozen meats route and dig out a pack of boneless chicken breasts. Or if you're paranoid about the halal factor and/or freshness, call your friendly neighbourhood butcher (they're gentle giants).

Chicken Waldorf Salad: instantly, I think of the smoked chicken sandwich at Barista. While it is good (if a wee bit pricey), I've no idea when it was made or how much grease has gone into it, in the form of mayonnaise and butter.

Make them at home. Serve it to your mum's posh friends. Gloat whilst they diss their daughters and praise you. And if you're making this for men, name it something else. Chicken salad has quite the reputation for being bridal shower/"kitty" party food.

I made it at night, stored it in a bowl wrapped with cling film, and served it at breakfast. Yes. We have meat for breakfast. Get over it. In my defense, it was a Sunday. Pah.

Mostly-Healthy Chicken Waldorf Salad Sandwiches.

Ingredients:

400g of boneless chicken, cubed.
3 celery ribs (optional)
3/4 cup pineapple, peeled and chopped.
1/2 cup apple, peeled and chopped.
1 medium onion, finely diced.
2 tablespoons Mayonnaise (Light is good)
1/2 cup unflavoured yogurt.
2 tablespoons lemon juice.
Mint/Parsley, a small handful-chiffoned (chopped fine).
Salt and Pepper, to taste.

Method:

For the chicken:

Place your chicken pieces in a medium-sized vessel. Fill it with enough water so it's a couple of inches above the level of the chicken. Add plenty of salt and pepper, and bring to a boil. Cook until it's completely reduced.
Another way to cook the chicken would be to rub the chicken with olive oil, salt and pepper. Simply bake/grill them until tender.

Once the chicken is cool, shred the pieces into your-ideal-sized pieces. For example:-


In another bowl, combine the chopped pineapple and apple.

I used a ripe, sweet pineapple. In contrast, a green apple would be fantastic; or you can pick up Washington or Fuji apples at Kovai Pazhamudir Chozhai. Regular old apples would be fine, too. Just make sure they are tart and crisp. If they're very sweet and doughy, skip the apples altogether.

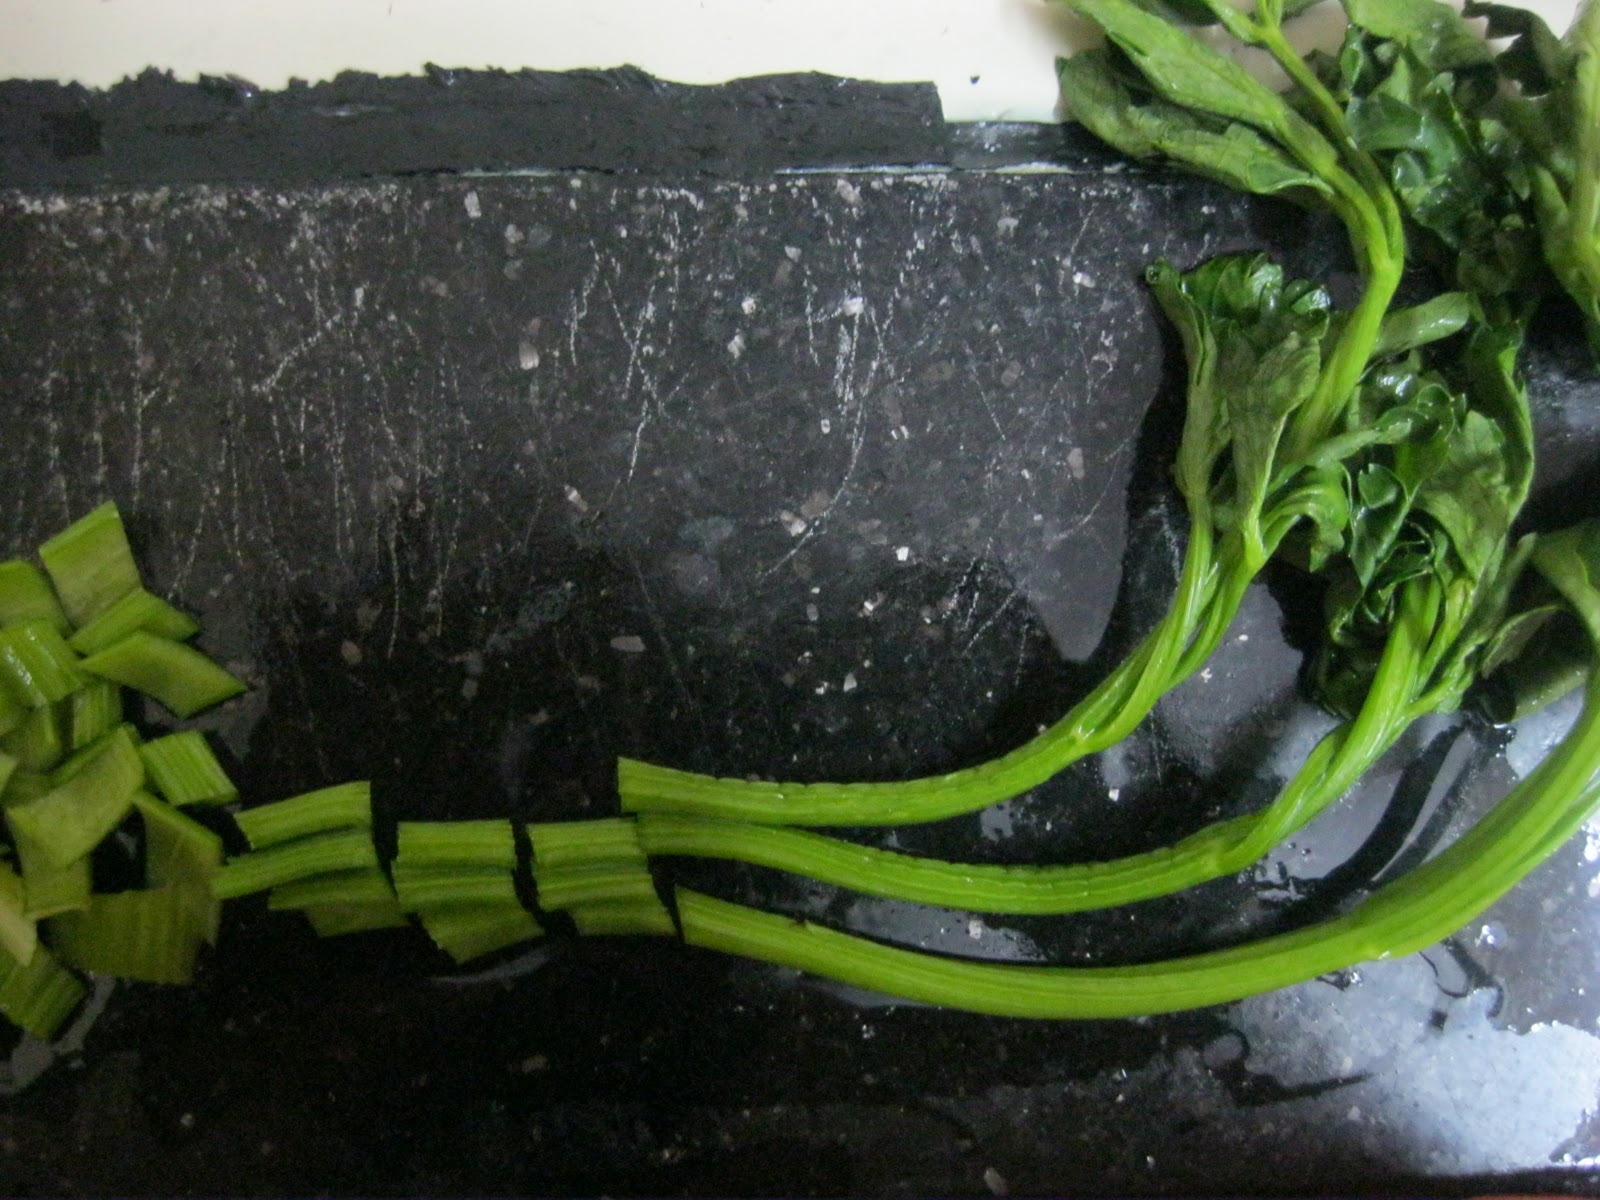
Chop the celery into tiny dice.

Celery adds another whole dimension to the dish, not to mention an interesting texture. Again, they're available in most greengrocers... if your subziwalla/kaigari kaar doesn't have them, supplement with extra mint for a herb-y touch and more onions for a crunch.

In a bowl, mix together the chopped onion, chicken, apple-pineapple, celery, mayonnaise, yogurt, lemon juice, salt and pepper.

Taste it. If the consistency or the seasoning isn't enough, make adjustments. You could add more mayo, less fruit, plenty of pepper, whatever.

Toast the walnuts. Chop them coarsley. Add into the chicken mix.


Serve on toasted baguette slices or stuffed between two pieces of wholewheat bread. I skipped the grilling as I wanted a cold sandwich that would befit Summer. Or wrap spoonfuls inside crisp, cold lettuce leaves for a refreshing appetizer/amuse bouche.

This post could be tagged healthy, technically. It depends on how you make it. Either way, you could close your eyes when you see the two tablespoons of mayo part. Out of sight, out of mind. Work with me!

Monday, March 7, 2011

Oatmeal-Raisin-Walnut Cookie/En Garde, Chocolat!

I'm extremely suspicious of people who do not like chocolate. I know, people who claim they looooove chocolate are dime-a-dozen; even confirmed connoisseurs can be easily found. But people who don't like chocolate? It's just not natural.

Even if you didn't, would you go around admitting that fact? You don't publicly admit "I don't like chocolate/children/Nature?", do you. I don't get it.

So when I have to bake for a chocolate non-lover, I make sure I do my homework. I search for that recipe that will help me forget the existence of cacao beans. It's hard, so I make sure I rope in my arsenal of brown sugar, butter and cinnamon.

Oatmeal-raisin cookies! I tend to make giant cookies, so I can have a cookie and wash it down with milk on those hurry-burried mornings where breakfast is not an option. Sometimes, I sneak peanut butter and chocolate chips into the dough. Or go down the spice route, incorporating ginger and orange zest, for a Body Shop Christmas-inspired cookie. Whilst I love chewy, soft cookies, when I give them to people, they think I'm an incompetent baker. True story.

So. I give you, a very basic crispy Oatmeal-raisin cookie, adapted from a popular AllRecipes recipe. Cookies are treacherous things; they flop quite often. This recipe is an easy entry into the wonderful world of cookies.

Oatmeal-Raisin-Walnut cookies.

Ingredients:

3/4 cup butter, at room temperature
3/4 cup granulated white sugar
3/4 cup packed light brown sugar
2 eggs, at room temperature
1 teaspoon vanilla essence
1 1/2 cups all-purpose flour (maida)
1 teaspoon baking soda
1/2 tsp baking powder.
1/2 a cinnamon bark or 3/4 tsp ground cinnamon
1/2 teaspoon salt
2 3/4 cups Quaker Oats
3/4 cup raisins, steeped in hot water for 5 minutes and drained.
1/2 cup walnuts, chopped.

Method:
Preheat the oven to 190 degrees Celsius.


Grind the coarse sugar with bits of cinnamon in your mixie just until it's gritty, NOT fine.

Cream the butter, the white sugar and the brown sugar until smooth.


Whisk the eggs separately. Or you can skip this and add the eggs straight.

Add it into the batter with the vanilla. Beat until smooth.

In a separate bowl, stir together the maida, baking powder and baking soda. Fold into the batter. 

Fold in the oats. Stir the nuts and raisins.

Don't over mix or use a hand mixer for dry ingredients. I can say this each time I do a baking post, and it still won't be enough to drive home the point... it took me several flops to accept this.

I usually wrap the dough in cling film and refrigerate the dough for half an hour.


On a baking tray lined with aluminium foil (ungreased), drop a mini-scoop of ice cream shaped ball of cookie dough. Flatten it.

Bake for 8-10 minutes, until the edges are slightly brown.

Do a test run with the cookies. Just so you know how much they spread out or puff up, and more crucially, how long they take. If you bake for fewer minutes, you'll have chewy cookies.

Take them out of the oven. Cool them in their sheets for ten minutes. Transfer to a wire rack, and let them cool completely.


Store in an airtight tin. Or leave them unattended, so they can be gobbled up.


Tie pretty ribbons around them, so ideal for gifting. The non-pretty ones can be sandwiched with butterscotch ice-cream, frozen, softened, and eaten. Yum.


Freeze between sheets of butter-paper. Thaw for an easy
ice-cream sandwich!


I ate quite a bit of the dough and the crumbly bits. The chocolate-hating girl these were baked for did call me mental when I told her on PMS-days I eat Chocos for breakfast and Nutella on Wholegrain bread (healthy, but the Nutella kills any little gram of healthiness that remained) for lunch. Justifies the stealing.

Thursday, March 3, 2011

Pasta with Rainbow Veggies/United Colours of Pasta-ton!

The easiest way to keep yourself away from pastries would be to bake them yourself. By the time you're done taste-testing and batter-tasting and baking yet another batch of cookies, you don't want to see another one. Only for the next few hours, though. You'll be putting your hand into the cookie jar the most, if you're, well, me.

I do make things without vanilla and chocolate; here's one of them. Pasta with Rainbow Veggies. A great way to deal with those boring weekday dinners. You've had a sandwich or less for lunch, and you want a proper dinner, to combat the weekday blues.

You know what my medical advice to you is? A pot of pasta, bursting to the seams with vegetables, with a hint of comforting cheese; it fills your whole house with the smells of tomato, garlic, onion and oregano. Don't go around getting pizza cravings now.

And it's healthy enough for you to have an excuse to indulge over the weekend (get yourself a steak au poivre with a side of potatoes!).You meet atleast two days' worth of your vegetable requirement. And veggies are so forgiving; besides cleaning up your cells, they don't give you food poisoning if undercooked or go all eraser-textured if overcooked. I also used a bechamel, so I can get creaminess in the dish with less than a tablespoon of butter.

It isn't restaurant-style Italian, so don't expect pancetta to be fried or carbonaras being cooked. It's fancy enough to be eaten with a fork, and not so fancy that it tastes weird.

Pasta with Rainbow Veggies:

Ingredients:

1 bag of baby corn (up to 2 cups when chopped)
200g mushrooms, quartered.
3 bell peppers/capsicum (I use red, orange and green), cut into slices.
3 tomatoes, pureed.
1 onion, chopped.
5 cloves garlic, quartered.
1 tbsp butter.
1 tbsp all-purpose flour (maida)
1 cup milk.
1/2 cup ready-made pasta sauce (can be substituted with 2 tbsp if ketchup).
250 g pasta (penne, fettucini, spiral, bowtie/even macaroni).
Olive oil-2 tbsp.
Dried herbs-2 tbsp, and some more to sprinkle.
A handful of cheese-either parmesan/feta/mozzarella.
Dried red chillies-3 or 4.
Salt and pepper-to taste.

Method:

1) Bring a large pot of lightly salted water to a boil. Drop in your pasta; when al dente (meaning they still have  a bite to them, not too soggy), take it out and wash with cold water to stop the cooking process.

2)Make your bechamel-the white sauce that goes on an Au Gratin.

Heat a tablespoon of butter over low heat. Stir in the maida and make a roux.


When golden, pour in the milk while whisking actively. Let the bechamel concentrate over low heat, until you have a creamy consistency. Add salt, pepper and nutmeg (optional). Keep aside.

Don't let any floury lumps remain-it is not appetizing.

3)Prep your veggies. Make sure they're all equally sized pieces so they finish cooking at the same time.


Heat the olive oil in a large non-stick vessel over med-high. Add in the baby corn (it takes the longest to cook). After a minute of tossing, drop in the chopped onion and garlic. Toss until the onion turns transclucent.


4)Add in the mushroom. Cook for 2 minutes. Add in the bell-peppers. Cook for another 2 minutes. Add the pepper and salt.


Less is more. You can always add extra salt later. And I strongly recommend you pound some vathal (dried red chillies) or add chilli flakes to the vegetables. It cuts through the homogenous bechamel.

5)Add the tomato puree (it'll taste better if you've boiled it before blitzing). Cook until the raw smell of it goes away. Approximately 5-7 minutes.

Add the readymade pasta sauce. If you don't have any, increase the tomato puree mix and add tomato paste/ketchup. I only had it because I got it on an offer (free bag of Fusilli with the Pasta Sauce). I am not a fan of readymade pasta sauce, but it's handy on a weekday, I won't lie.

6)Cook down for 10 minutes. Add the herbs. Taste the mix, and adjust the seasoning according. Toss in the cooked pasta until well coated.


7)Add in the white sauce you've made. Toss some more.

Don't keep mixing the pasta with a spoon; you'll make it all gloopy by overworking the gluten.


8)Spread the pasta out on a baking tray. Sprinkle a handful of cheese. Bake in the oven for 10 minutes at 200 degrees celcius (maximum, you don't want to dry it out).

9)Serve with a slice of garlic bread. This is simply to mop up all the juices and sauce from your plate. Yum.

Recipe Source: Me! Don't be too scared.

And I know I've been doing too many "Loaded with Vegetables", "Super Healthy, Super Tasty!" type of recipes lately. So next time, it's going to be a meat and cheese affair. At least, that's what I told my family, and that's what I'm telling you.